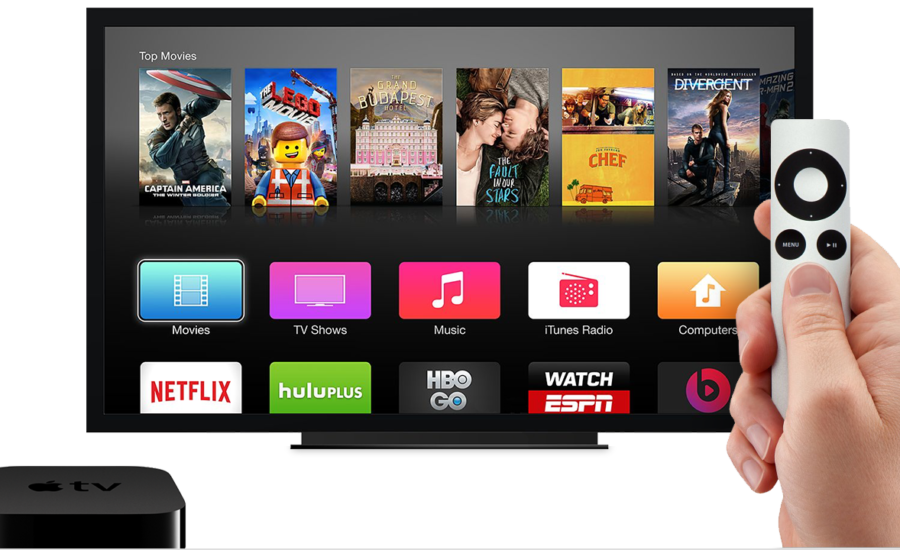
I recently purchased an Apple TV and figured there would be a way to stream my existing videos to it. I ended up figuring it out, but had to do a bit of searching myself. Hopefully this saves others from having to scrounge the dark corners of the internet like I did.
Previous Setup
First, a little bit of background. Before purchasing the Apple TV I was streaming all my videos through my Playstation 3 using the PS3 Media Server. I found that some videos with certain encoding would take too long to transcode and I would end up having to wait before watching it or half way through would cut out. This is, more than anything, a huge annoyance! Also, although I have all the proper ports opened up, I would receive a bunch of DLNA Protocol Errors. I searched and tried a bunch of different fixes, but in the end, they kept coming. Just so everyone is clear, all of my videos were mp4s, I think there may have been one or two avis but I tried to stick to mp4s.
Preparation
Hooking up the Apple TV is simple. Plug it in. Done. For the videos, as far as I can tell, the folder structure on your computer before hand doesn’t matter. When you bring all of your videos into iTunes, which you will need to do, it will group them all together as Home Videos. Dont worry about how you have them organized. If you want to keep them organized on your computer for your own sake, by all means. Feel free to set that up however you like, but just know, its not necessary. If you want to rename your files now is the time. If you do this later on, you will have to re-add all of the videos back in to iTunes or re-locate them.
To get your iTunes library to show up on the Apple TV, you will need to turn on Home Sharing. Be aware, for your libraries to show up on the Apple TV the computer must be on and iTunes must be open.
To Turn On Home Sharing
- Open iTunes
- Click on “File”
- Click on “Home Sharing”
- Click on “Turn On Home Sharing”
- Sign in using your Apple ID
Depending on the version of iTunes you are using it may be slightly different. The following article should help with the different versions.
Setting Up Home Sharing For Apple TV
Setup
You will need to import all of your videos into iTunes. iTunes will only support certain video formats, to be more specific m4v, mp4, and mov files. If you would like more information, check out the Apple Support page below.
iTunes: Frequently Asked Questions About Viewing And Syncing Videos
To Import:
- Open iTunes
- Click on “File”
- Click on “Add to Library…”
- Select the parent folder housing all of your videos
All Of My Videos Show Up Under Home Videos
By default when none of the “Info” is filled out, movies will default to no categorization and will show up as “Home Videos” both in iTunes and on the Apple TV. To categorize the videos the way you would like, all you have to do it simply fill out the “Info”.
Change Home Video To Movies, TV Show, Etc.
- Right click on file in iTunes
- Click on “Get Info”
- Click on the “Options” tab
- Change “Media Kind” to the category you would like
Changing the Media Kind will change the way the files get categorized on the Apple TV. When you choose to view your computer there will be categories based on these settings. This will put them into a main category, but they will still show up as one long list that you are going to have to scroll… and scroll… and scroll through to find the file you want to watch.
Categorize By Show And Season
To get rid of the long list in Apple TV and start breaking up the files into shows and seasons is fairly simple… but it is also tedious and time consuming. Again, it involves the “Info”.
- Right click on file in iTunes
- Click on “Get Info”
- Click on the “Video” tab
- Fill out the Show, Season Number and Episode Number
You can do batch updates for all of this information with the exception of the Episode Number. Select all the files you would like to change, bring up the “Get Info” dialog box and change the information. Once you have all of this information filled out the videos should show up categorized under show and season on the Apple TV.
At this point, it’s not a bad idea to clean up the Name on the “Info” tab. Its not necessary, but it makes scrolling through the videos on the Apple TV a little more pleasant.
Identify Your Apple TV Model
I have a 3rd Generation Apple TV and haven’t tried this with the 4th Generation. I assume it would work similarly. To identify your Apple TV, you can use this link: Identify Your Apple TV Model
Enjoy.


Excellent article — would appreciate a date on the article, though. It would be helpful to know if you are talking about Apple TV 3rd generation or 4th generation — there are differences between the two and both are available for purchase.